Thinking of going glamping but a little unsure how you’ll fare in all that countryside?
Fear not! We’ve got you covered.
Luckily for you our glamping sites provide you luxury accommodation with heating and running water, not to mention fully equipped kitchens, so you won’t have to worry about pitching tents and keeping everyone warm and dry.... However, if you do fancy giving the firepit a go outside, you won’t regret it! You’ve got access to an unlimited supply of logs and really, an outdoor holiday isn’t complete without a good old-fashioned campfire. There’s few places more relaxing after a long day exploring than a cosy fireside!
So we thought we’d put some tips together for beginners:
Step 1.
Have the confidence to do it!
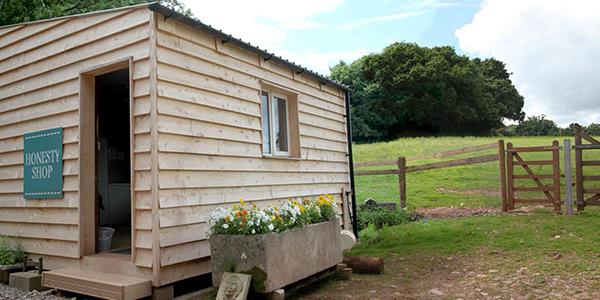
If you’re worried about it all going wrong, don’t be! We’ve got a mountain of logs and an honesty shop packed full of matches, fire lighters and kindling. So if at first you don’t succeed, try, try again. You’ll be a pro before you know it!
Step 2.
Gather your materials. You’ll need:
- Matches or a lighter
- Tinder, such as newspaper
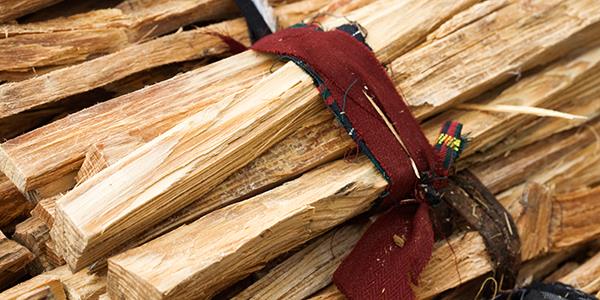
- Kindling eg. smaller sticks
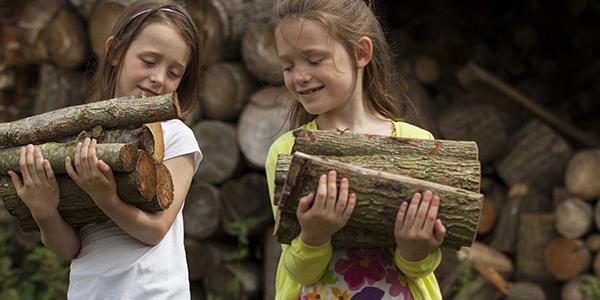
- Larger logs
In each of our tents you’ll find matches, kindling and a few logs to get you started. All of this should be dry.
If you’d like, you’re welcome to bring your own bits and bobs as well. Bear in mind if your kindling is damp you will need enough tinder to burn long enough to dry it out. There is also a log store in the field with the tents so you can go and help yourself to more logs as and when you need.
Step 3.
Start early.
Especially if the sun goes down early (in the summer it’s not such a problem).
Fires take a while to fully heat up. So whether you’re lighting the log burner inside for warmth, or the firepit outside for a barbecue, you need to factor in a couple of hours for it to really heat up. You can’t just chuck your sausages straight on! A good fire for cooking on is mostly made up of hot coals, with one or two burning logs.
Step 4.
Build it right.
Fire is fussy and it doesn’t catch on just any ol’ mishmash of logs. Oh no!
Your tinder, such as newspaper or wood shavings or dry leaves, will catch the initial spark and eventually ignite the kindling. The kindling (sticks and twigs/ cardboard etc. with a larger surface area) has more bulk than tinder, and will better sustain a flame. You need to build your fire with this in mind. Ball up newspaper for layer one, then put your kindling on top of this.
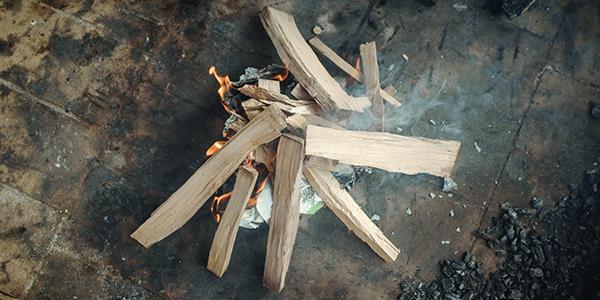
Remember to wigwam!
Fire needs oxygen to burn and as the heat rises it pulls oxygen in from the bottom. So the key is to build your kindling into a conical wigwam shape. This way oxygen can make its way in and up, feeding the fire. Light the tinder in several places and the kindling should catch pretty easily. Once it’s burning the wood will fall in on itself.
Step 5.
Feed the fire.
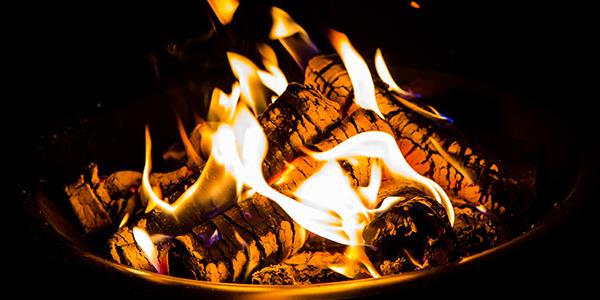
When it’s burning move on to the logs (starting with the smallest) and apply the wigwam rule again. The hottest point of a flame is at its tip, so right where your wigwam wood meets. Be careful not to smother the fire with too much too soon; you want to allow the oxygen to keep circulating and really let the heat in.
Top tip:
Don’t let it go out. It’s far easier to feed a fire than it is to build one from scratch. The heat stays in it and it’ll just keep burning as long as you look after it.
Step 6.
Enjoy!
You should have a go at cooking your evening meal on the firepit, or breakfast the next morning. It makes all the difference to the flavour when food is cooked over a naked flame. And it’s really what outdoor holidays are all about!
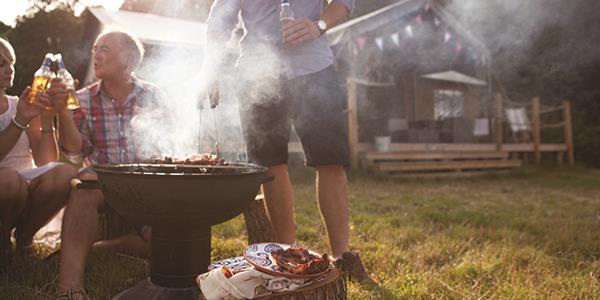
Each of our firepits comes with a grill so you can barbecue anything you like; you could cook up eggs, beans, sausages and hashbrowns in a dish, or even make up a big one-pot meal.
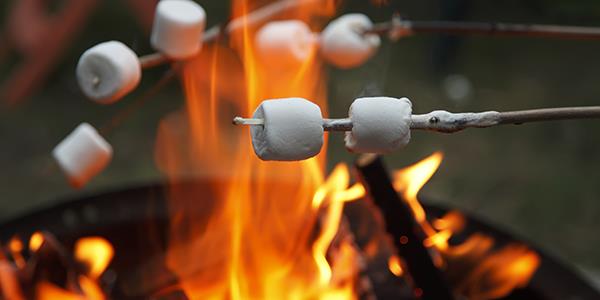
If you’re sitting out in the evenings admiring the stars, the firepit is ideal for keeping warm and roasting marshmallows.
If you’re stuck for ideas you could always order one of our firepit packs! They come ready with everything you need to cook up something delicious on the fire and can be ordered on the website.